Hibachi Vegetables Recipe: Restaurant Quality Sear
- Time: Active 15 minutes, Passive 8 minutes, Total 23 minutes
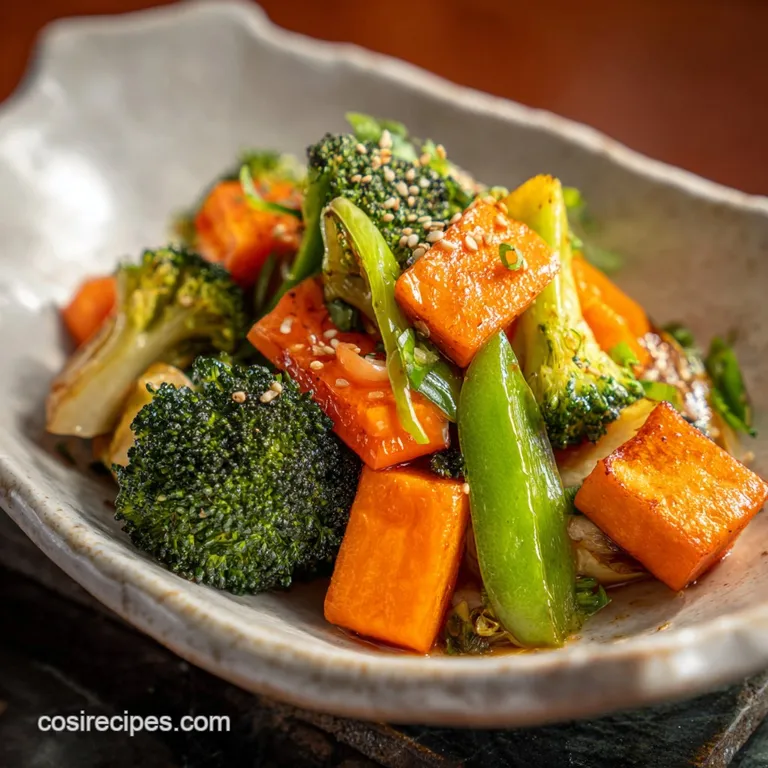
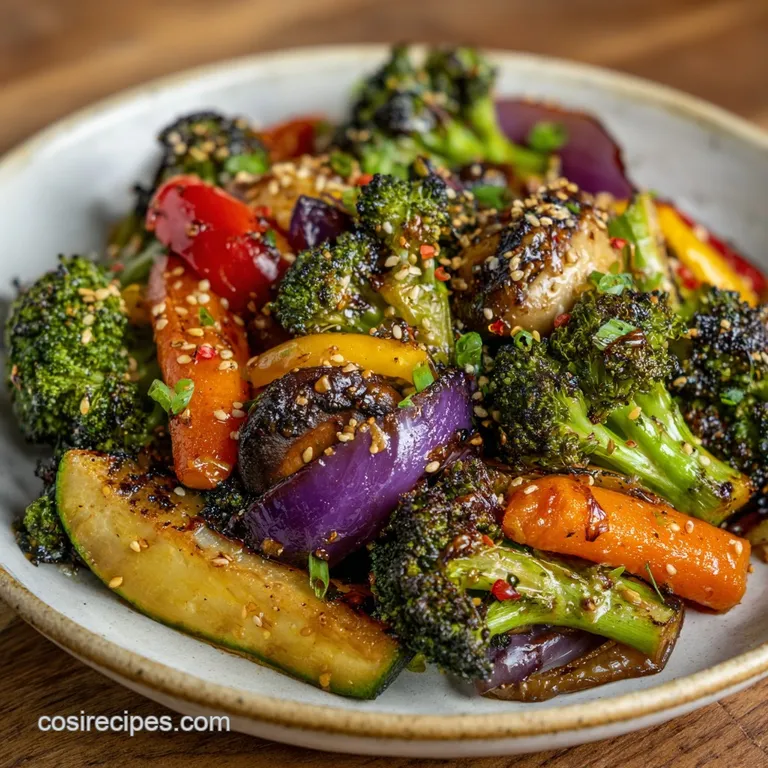
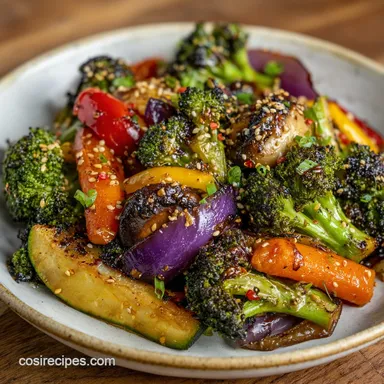
- Flavor/Texture Hook: Charred, snappy edges with a velvety, garlic butter finish.
- Perfect for: Recreating restaurant favorites for a quick, addictive weeknight side dish.
- Master the Science of the Crunch
- Anatomy of the Perfect Hibachi Timing
- Selecting Flavorful Components for Success
- Essential Gear for High Heat Cooking
- Executing the Eight Minute Sequential Sear
- Fixing the Sad Soggy Veggie Blues
- Adapting for Vegan and Keto Diets
- Smart Storage and Zero Waste Tips
- Building the Ultimate Home Hibachi Feast
- Recipe FAQs
- 📝 Recipe Card
Master the Science of the Crunch
Close your eyes and listen. You hear that rhythmic clack clack clack of metal spatulas against a scorching griddle. Then comes the sizzle, a sudden, violent hiss as the soy sauce hits the heat, sending up a cloud of savory steam that smells like toasted garlic and ginger.
That is the experience we are chasing today. For years, I struggled to make a hibachi vegetables recipe at home that didn't end up looking like a sad, grey heap. I would dump everything in the pan, the temperature would plummet, and the veggies would basically boil in their own juices. It was a disaster, honestly.
The breakthrough came when I realized that hibachi is less about "cooking" and more about "searing." We are looking for that specific char that only happens when the vegetable's surface moisture evaporates instantly. After dozens of attempts and a few smoke alarm incidents, I finally decoded the workflow.
It's all about the sequential sear. We start with the dense, stubborn carrots and broccoli, and we finish with the moisture heavy zucchini and mushrooms. This keeps everything snappy, colorful, and completely addictive.
Trust me, once you see those charred edges on the onions, you'll never go back to steamed veggies again.
The Physics of the Snap: over High heat searing triggers the Maillard reaction, creating complex flavor compounds on the vegetable surface. By cooking in specific stages, we prevent the water heavy zucchini from steaming the crisp broccoli florets.
| Method | Time | Texture | Best For |
|---|---|---|---|
| Cast Iron Skillet | 8 minutes | Maximum char and smoky flavor | Recreating the authentic griddle taste |
| Carbon Steel Wok | 6 minutes | Snappy and vibrant | Rapid cooking with minimal oil |
| Stainless Steel | 10 minutes | Even browning, less char | Beginners who want more control |
Choosing the right pan is half the battle. If you use a thin, non stick pan, you'll struggle to get that restaurant style crust because the pan loses heat too quickly when the cold vegetables hit the surface. A heavy bottomed cast iron skillet is your best friend here.
It acts like a heat battery, holding onto that energy so your vegetables sear the moment they touch the oil.
Anatomy of the Perfect Hibachi Timing
When we talk about this hibachi vegetables recipe, the most important "ingredient" is actually the clock. Since we are working with high heat, things happen fast. If you walk away to check your phone, your garlic will go from fragrant to bitter charcoal in thirty seconds.
I like to keep everything organized in small bowls right next to the stove. This isn't just me being fancy, it's a survival tactic.
| Component | Science Role | Pro Secret |
|---|---|---|
| Cold Butter | Emulsifier | Adding cold butter at the end creates a glossy coating that doesn't feel greasy. |
| Mirin | Sugar & Acid | The sugar content aids in rapid browning while the acidity balances the salt. |
| Avocado Oil | High Smoke Point | Allows the pan to reach 450°F without smoking, ensuring a proper sear. |
I once tried making this with olive oil because I was out of avocado oil. Big mistake. The kitchen was filled with acrid smoke before the carrots even softened. Using a high smoke point oil allows the vegetables to hit that 450°F (230°C) sweet spot where the sugars in the onions and carrots begin to caramelize almost instantly.
Selecting Flavorful Components for Success
The beauty of a hibachi vegetable recipe homemade style is the control you have over the produce. You want a mix of textures: the crunch of the carrots, the earthy meatiness of the mushrooms, and the snap of the broccoli.
- 2 medium zucchini: Slice these into half moons. Why this? The thickness prevents them from turning to mush during the final sear.
- Substitute: Yellow squash offers a similar texture with a slightly sweeter profile.
- 2 large carrots: Cut into thin matchsticks. Why this? Matchsticks cook through quickly at high heat compared to thick rounds.
- Substitute: Red bell peppers provide a nice crunch and color if you're out of carrots.
- 1 large sweet onion: Cut into 1 inch chunks. Why this? Large chunks maintain their structure and develop those charred, sweet edges.
- Substitute: Red onion adds a sharper bite and a beautiful purple hue.
- 8 oz white button mushrooms: Quartered. Why this? Quartering keeps them meaty enough to stand up to the high heat.
- Substitute: Cremini mushrooms offer a deeper, more savory earthiness.
- 2 cups broccoli florets: Small bite sized pieces. Why this? Small florets catch the sauce in their "trees" for maximum flavor.
- Substitute: Cauliflower works well but requires an extra minute of cook time.
- Finishing Sauce: 3 tbsp soy sauce, 1 tbsp mirin, 1 tsp sesame oil, 3 cloves garlic, 1 tsp ginger. Why this? This creates a balanced salty, sweet, and aromatic glaze.
I've found that using low sodium soy sauce is non negotiable. Regular soy sauce can quickly become overpowering as the liquid evaporates in the hot pan, leaving behind too much salt. If you're looking for a protein to round out the meal, this vegetable mix pairs perfectly with my Hibachi Steak Recipe.
Essential Gear for High Heat Cooking
To get that restaurant style finish, you need a pan that can take a beating. A 12 inch cast iron skillet is the gold standard because it mimics the flat top griddles used by professionals. It holds heat beautifully and develops a natural non stick surface over time.
If you don't have cast iron, a heavy stainless steel pan will work, but you'll need to be more aggressive with your oil to prevent sticking.
Beyond the pan, a set of long handled metal spatulas is a game changer. They allow you to toss the vegetables with confidence without getting your hands too close to the "splatter zone." Also, make sure your kitchen ventilation is on high.
We are aiming for a sear, which means a little bit of smoke is actually a sign of success.
Chef Tip: Place your serving bowl in a warm oven (about 150°F/65°C) while you cook. Serving hot vegetables in a cold bowl is the fastest way to lose that crisp texture.
Executing the Eight Minute Sequential Sear
- Prepare the aromatics. Combine the minced garlic, grated ginger, soy sauce, mirin, and sesame oil in a small jar. Note: Mixing this ahead of time prevents the garlic from burning while you fumble with bottles.
- Heat the pan. Place your heavy skillet over medium high heat with 2 tablespoons of avocado oil. Cook until the oil shimmers and barely begins to smoke.
- Sear the carrots and broccoli. Add these first as they are the densest. Note: Spread them in a single layer to ensure they actually brown instead of steaming.
- Introduce the onions. After 2 minutes, toss in the onion chunks. Cook 2 minutes until the onion edges start to turn translucent and brown.
- Add the mushrooms. Toss these in next. Cook 2 minutes until they begin to release their moisture and shrink slightly.
- The final vegetable. Add the zucchini half moons. Note: Zucchini cooks the fastest, so it only needs about 90 seconds to reach the "snappy" stage.
- Create a hot spot. Push the vegetables to the outer edges of the pan, leaving a clear space in the center.
- Deglaze with sauce. Pour your prepared sauce into the center of the pan. Cook 30 seconds until the sauce bubbles and thickens.
- Emulsify with butter. Add the 2 tablespoons of cold butter into the bubbling sauce. Note: Whisk the butter into the sauce with your spatula before tossing the vegetables back in.
- The final toss. Combine everything quickly, ensuring every piece is coated in the velvety glaze, then remove from heat immediately.
For a classic Japanese steakhouse experience, you can serve this right alongside a batch of my Hibachi Fried Rice recipe. The way the garlic butter from the vegetables seeps into the rice is honestly the best part of the whole meal.
Fixing the Sad Soggy Veggie Blues
The biggest hurdle with any hibachi style vegetables recipe is excess moisture. If your pan looks like a soup by the time you add the zucchini, something went wrong. Usually, it's a matter of pan crowding. If you try to double this recipe in a single 12 inch pan, the vegetables will be stacked three layers deep.
The steam from the bottom layer gets trapped by the top layer, and suddenly you're boiling your dinner.
Why Your Zucchini is Mushy
If the center of your zucchini is watery but the outside is pale, your heat was too low. The goal is to shatter the surface cells with heat before the internal structure collapses. Always ensure the pan is screaming hot before the first vegetable touches it.
| Problem | Root Cause | Solution |
|---|---|---|
| Vegetables are grey | Pan was overcrowded | Cook in two batches or use a larger griddle. |
| Garlic tastes bitter | Added too early | Only add the garlic (in the sauce) during the last 60 seconds of cooking. |
| Sauce is thin/watery | Didn't emulsify butter | Use cold butter and ensure the sauce is bubbling before adding it. |
Common Mistakes Checklist:
- ✓ Pat your vegetables completely dry with a paper towel after washing.
- ✓ Cut all pieces of a specific vegetable to the same size for even cooking.
- ✓ Don't stir constantly; let the vegetables sit for 60 seconds at a time to develop a char.
- ✓ Add the salt heavy soy sauce only at the very end to prevent premature moisture release.
Adapting for Vegan and Keto Diets
This recipe is incredibly flexible. If you're hosting someone with dietary restrictions, you don't have to sacrifice that addictive flavor. For a vegetarian hibachi vegetables recipe, the butter is usually the only hurdle.
- Going Vegan: Swap the butter for a high-quality vegan butter or simply use an extra teaspoon of toasted sesame oil for richness.
- Keto Version: The mirin contains sugar, which can be a no go for strict keto. You can replace it with a splash of rice vinegar and a pinch of monk fruit sweetener to keep the carbs low while maintaining the balance of acid and sweet.
- gluten-free: Replace the soy sauce with Tamari or coconut aminos. Coconut aminos are slightly sweeter, so you might want to reduce the mirin by half to compensate.
If you are scaling this up for a party, remember the "1.5x rule" for spices. When doubling the vegetables, you only need about 1.5 times the sauce and aromatics. Using 2x the salt and soy sauce can make the dish aggressively salty.
Smart Storage and Zero Waste Tips
Let's be real, hibachi is best eaten immediately when the textures are at their peak. However, if you have leftovers, they make a fantastic base for a quick lunch the next day.
Storage: Keep leftovers in an airtight glass container in the fridge for up to 3 days. I don't recommend freezing these vegetables. The cell walls of the zucchini and mushrooms will break down when frozen, resulting in a very mushy texture once thawed.
Zero Waste: Don't throw away those broccoli stems! Peel the woody outer layer and slice the tender core into matchsticks along with the carrots. They have a wonderful, water chestnut like crunch that fits perfectly in this Japanese hibachi vegetables recipe.
Also, if you have extra onion and carrot scraps, toss them into a freezer bag for your next batch of homemade vegetable stock.
Reheating: Avoid the microwave if you can. It will steam the vegetables and make them soft. Instead, throw them back into a hot skillet with a tiny splash of water and a lid for 60 seconds. This "flash steams" them back to life without losing too much of that charred integrity.
Building the Ultimate Home Hibachi Feast
To truly recreate the restaurant vibe, you need the full spread. I usually start the process by getting a batch of Hibachi Chicken Recipe marinating while I chop the vegetables. The chicken takes a bit longer to cook, so I'll sear it off, set it aside to rest, and then use the same pan (unwashed!) to cook the vegetables. Those little browned bits of chicken stuck to the pan (called "fond") add an incredible layer of flavor to the onions and broccoli.
If you're feeling ambitious, you can even whip up some yum yum sauce on the side. It provides a creamy, tangy contrast to the salty, buttery vegetables. Just remember to work in stages. The biggest myth in home cooking is that everything needs to be in the pan at once.
In reality, the best chefs are masters of the "holding pattern" cooking components to 90% doneness, setting them aside, and then bringing them all together for a final, over high heat toss. That’s the secret to why restaurant food tastes so much more vibrant than home cooking.
Now, get that pan hot and start searing!

Recipe FAQs
What oil should I use for hibachi vegetables to achieve a proper sear?
Use avocado oil or another high smoke point oil. These oils allow the pan to reach the necessary high searing temperatures (around 450°F) without immediately breaking down or smoking excessively.
What vegetables are most commonly used in Japanese hibachi cooking?
Zucchini, carrots, yellow onion, mushrooms, and broccoli are standard. The key is choosing vegetables with varied densities so they can be added sequentially to hit peak crispness simultaneously.
What do hibachi chefs put on vegetables for flavor besides soy sauce?
Butter, fresh garlic, ginger, mirin, and sesame oil are essential finishing components. The butter is crucial for emulsifying the sauce at the end, creating a glossy coating.
How do I prevent my hibachi vegetables from becoming soggy and steaming?
Cook the vegetables in batches and do not overcrowd the pan. Overcrowding traps moisture, preventing the surface from searing; use a large, heavy skillet to maintain high heat.
Should I use low sodium soy sauce or regular soy sauce in the vegetable glaze?
Always opt for low sodium soy sauce. As the liquids evaporate rapidly over high heat, using regular soy sauce often results in an overwhelmingly salty final product.
How can I make this recipe suitable for a Keto or low carb diet?
Replace the mirin with rice vinegar and a keto friendly sweetener like monk fruit. This substitution keeps the necessary acid-to-sweet balance without adding sugar.
How do I reheat leftover hibachi vegetables to maintain some crispness?
Reheat in a hot, dry skillet over medium heat, not in the microwave. Add a splash of water and cover briefly; this flash steams them back to life without the microwave's mush inducing steam.
Crispy Hibachi Vegetables Recipe
Ingredients:
Instructions:
Nutrition Facts:
| Calories | 216 calories |
|---|---|
| Protein | 5.6g |
| Fat | 14.7g |
| Carbs | 17.3g |
| Fiber | 3.8g |
| Sugar | 8.2g |
| Sodium | 488mg |
