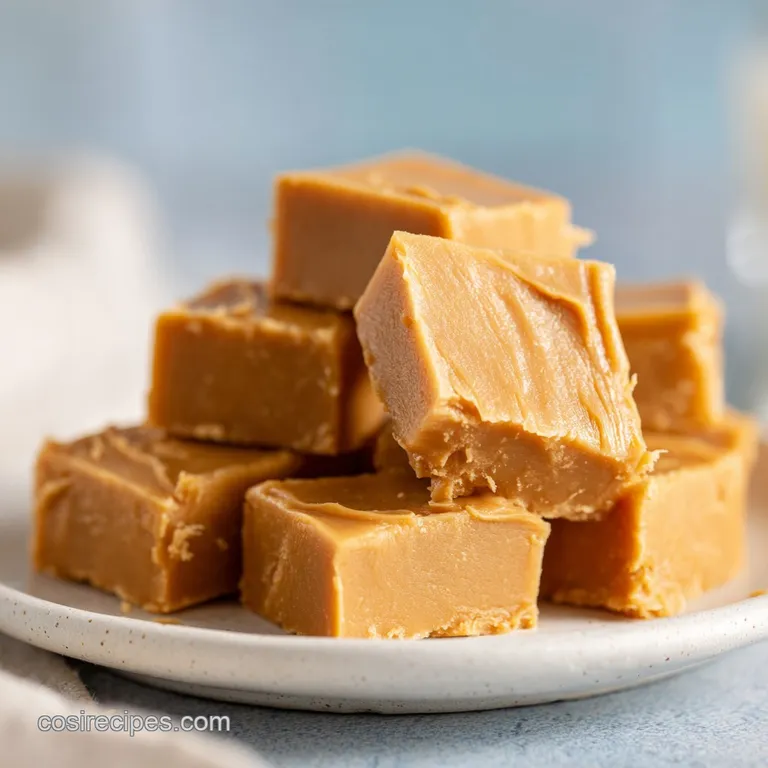
Peanut Butter Fudge: Silky and Creamy
- Time: Active 10 minutes, Passive 5 minutes, Total 15 minutes
- Flavor/Texture Hook: Velvety smooth with a rich, buttery snap
- Perfect for: Last minute holiday gifting or a quick late night sweet fix
- Mastering the Ultimate Creamy Peanut Butter Fudge
- Why This Creamy Treat Beats Any Store Alternative
- Crucial Timing and Measurements for the Best Fudge Payoff
- Gathering the Best Pantry Staples for Your Fudge Masterpiece
- The Essential Tools for Achieving a Glossy Ribbon Finish
- Following the Method for a Flawless Two Minute Boil
- Quick Fixes for the Most Common Fudge Texture Mistakes
- Creative Flavor Twists to Make This Recipe Your Own
- Storing and Freezing Your Treats to Keep Them Fresh
- Elegant Ways to Serve Your Fudge with Morning Coffee
- Debunking Fudge Myths
- Recipe FAQs
- 📝 Recipe Card
Mastering the Ultimate Creamy Peanut Butter Fudge
The moment that butter hits the saucepan and starts to sizzle alongside the milk and sugar, your kitchen transforms. There is a very specific aroma that fills the air it’s that deep, toasted sugar scent that reminds me of boardwalk candy shops and grandmother's kitchen during the holidays.
I used to think making candy was some sort of dark art reserved for people with fancy thermometers and decades of patience, but honestly, this fudge changed my mind. It’s all about the payoff; you spend about five minutes at the stove, and you’re rewarded with a tray of gold.
I remember one Christmas when I tried to "wing it" with a different recipe and ended up with a pan of crumbly, sweet sand. It was heartbreaking! That’s when I realized that the "2 minutes and 30 seconds" rule isn't just a suggestion it’s the law of the land if you want that glossy, professional finish.
This version is my absolute favorite because it doesn't use marshmallow fluff or strange additives; it relies on high-quality pantry staples to do the heavy lifting.
We are going for a texture that is firm enough to hold its shape in a gift box but soft enough to dissolve the second it hits your tongue. Whether you’re a seasoned baker or someone who usually avoids the stovetop, this method is designed to be foolproof.
Let’s get your pans ready, because this is going to be the most requested treat in your repertoire. Trust me, once your friends taste the difference between this and the store-bought blocks, there’s no going back.
Why This Creamy Treat Beats Any Store Alternative
Understanding why this recipe works is the first step to becoming a kitchen master. It’s not just about mixing things together; it’s about the way the ingredients interact under heat to create that specific fudge structure.
- Sugar Suspension: The milk and butter work together to dissolve the granulated sugar completely, creating a syrup that stays smooth rather than forming large, crunchy crystals.
- The Protein Buffer: Peanut butter provides a massive amount of fat and protein which coats the sugar molecules, acting as a barrier that keeps the fudge soft and pliable.
- Controlled Evaporation: Boiling the mixture for exactly 150 seconds removes just enough water from the milk to ensure the fudge sets properly without becoming brittle.
- The Cooling Anchor: Adding the sifted confectioners' sugar at the very end provides the "skeleton" for the fudge, allowing it to firm up quickly as it cools in the fridge.
| Cook Method | Time | Texture Outcome | Best Use Case |
|---|---|---|---|
| Traditional Stovetop | 15 minutes | Professional, silky snap | Gifting and holiday platters |
| Microwave Shortcut | 8 minutes | Softer, slightly grainier | Quick cravings or kids' snacks |
| No Boil Version | 5 minutes | Very soft, spoonable | Ice cream toppings or fillings |
Choosing the stovetop method listed here ensures that the sugar reaches the "soft ball" stage naturally, which is what gives the fudge its iconic structure. While shortcuts exist, they often sacrifice that luxurious mouthfeel that makes traditional Peanut Butter Fudge so special. If you're looking for other ways to treat yourself on a slow morning, you might want to try these Almond Flour Pancakes which offer a similarly satisfying texture without the sugar rush.
Crucial Timing and Measurements for the Best Fudge Payoff
| Component | Science Role | Pro Secret |
|---|---|---|
| Unsalted Butter | Fat Emulsifier | Use high-quality butter for a cleaner, richer dairy finish. |
| Whole Milk | Liquid Base | The fat in whole milk prevents the sugar from seizing up. |
| Granulated Sugar | Structural Sweetener | Ensure it’s fully dissolved before the boil begins to avoid grit. |
| Peanut Butter | Flavor & Stability | Shelf stable creamy brands work best for a consistent, smooth emulsion. |
One thing I've learned through trial and error is that the type of sugar matters. We use granulated sugar for the base to get that deep sweetness, but the confectioners' sugar at the end is what provides the final polish.
If you skip the sifting step for the powdered sugar, you’ll end up with little white lumps that are impossible to stir out once the fudge starts to set.
Gathering the Best Pantry Staples for Your Fudge Masterpiece
The beauty of this recipe lies in its simplicity. You likely have most of these ingredients in your cupboard right now, but for the best results, quality is key.
- 1/2 cup (113g) unsalted butter: Why this? Provides the fat needed for a silky mouthfeel and rich flavor.
- 1/2 cup (120ml) whole milk: Why this? The fat content helps emulsify the sugar and peanut butter.
- 2 cups (400g) granulated white cane sugar: Why this? Creates the essential syrup base for the fudge's structure.
- 1/4 tsp fine sea salt: Why this? Cuts through the intense sweetness and highlights the nutty notes.
- 1 cup (250g) creamy shelf stable peanut butter: Why this? Provides the main flavor and helps the fudge stay soft.
- 1 tsp pure vanilla extract: Why this? Rounds out the flavors with a floral, aromatic finish.
- 1.5 cups (180g) sifted confectioners' sugar: Why this? Acts as the stabilizing agent to help the fudge set firm.
| Original Ingredient | Substitute | Why It Works |
|---|---|---|
| Unsalted Butter | Salted Butter | Works well, just omit the extra 1/4 tsp of sea salt. |
| Whole Milk | Heavy Cream | Adds extra richness and a slightly denser, more decadent texture. |
| Creamy Peanut Butter | Almond Butter | Note: Changes flavor profile significantly and may be oilier. |
| White Cane Sugar | Light Brown Sugar | Adds a subtle molasses hint, though the fudge will be darker. |
When you are measuring your peanut butter, I highly recommend using the "water displacement" method or a greased measuring cup. It makes getting that sticky 250g out of the cup so much easier!
Also, make sure your vanilla is the real deal pure vanilla extract makes a world of difference compared to the imitation stuff when you aren't baking the flavor away.
The Essential Tools for Achieving a Glossy Ribbon Finish
You don't need a lab full of equipment, but a few specific items will make your life much easier and ensure your Peanut Butter Fudge turns out perfectly.
1. Heavy Bottomed Saucepan
This is non negotiable. A thin pan will have "hot spots" that can scorch the milk and sugar before the mixture even reaches a boil. A heavy bottomed pan distributes heat evenly, which is vital for candy making.
2. Sifter and Sturdy Spatula
Since we are adding the confectioners' sugar at the very end, it needs to be as fine as possible. A sifter prevents clumps. A silicone spatula is better than a wooden spoon here because it can scrape the bottom and corners of the pan more effectively, ensuring no sugar is left behind.
3. 8x8-inch Square Pan
This size gives you the perfect thickness for your 36 squares. If you go larger, the fudge will be too thin; go smaller, and it might not set all the way through the center in the time suggested.
Chef's Tip: Line your pan with parchment paper, leaving a slight overhang on two sides. This creates a "sling" that allows you to lift the entire block of fudge out once it’s set, making cutting much cleaner.
Following the Method for a Flawless Two Minute Boil
- Prepare the Base: Place the 113g butter, 120ml milk, 400g sugar, and 1/4 tsp salt into your heavy bottomed saucepan. Turn the heat to medium.
- Dissolve the Sugar: Stir the mixture constantly until the butter has completely melted and you can no longer feel the grit of the sugar against the bottom of the pan. Note: Skipping this leads to a grainy texture.
- The Critical Boil: Bring the mixture to a rolling boil this means bubbles are breaking the surface even while you aren't stirring. Start your timer for exactly 2 minutes and 30 seconds.
- The Hands Off Rule: Do not stir the mixture during these 150 seconds. Watch for the mixture to become foamy and pale gold.
- Remove from Heat: As soon as the timer beeps, take the pan off the burner immediately to stop the temperature from rising further.
- Add the Flavor: Quickly fold in the 250g of creamy peanut butter and 1 tsp vanilla extract. Stir vigorously until the mixture is uniform and shiny.
- The Sifted Finish: Gradually add the 180g of sifted confectioners' sugar. Stir until the mixture is thick and there are no visible white streaks. It should look like thick, molten satin.
- The Transfer: Pour the mixture into your lined 8x8-inch pan. Use a spatula to smooth the top as quickly as possible, as it will begin to set fast.
- The Leveling & Set: Allow the pan to sit on the counter for about 20 minutes to lose its initial heat, then transfer to the refrigerator.
- Final Chill: Let it rest in the fridge for at least 2 hours until the center feels firm and cold to the touch. Lift the parchment and cut into 36 even squares.
Quick Fixes for the Most Common Fudge Texture Mistakes
Fudge can be temperamental, but most issues come down to temperature or humidity. If your batch isn't behaving, don't panic!
Why Your Fudge Feels Oily
If you see beads of oil on top of your fudge, it usually means the emulsion "broke." This often happens if the peanut butter was stirred in while the sugar mixture was still too hot, or if you used a natural peanut butter where the oil had separated.
My Fudge is Too Soft
If your squares are sticking to the knife or drooping, it didn't cook long enough. That 2:30 boil is crucial. If the boil was too "lazy" (not a full rolling boil), the sugar didn't reach the stage where it can hold a solid shape.
The Texture is Grainy
This is the most common heartbreak. It happens when sugar crystals "catch" on the side of the pan and fall back into the mix, or if the sugar wasn't fully dissolved before the boil started. Once a crystal forms, it triggers a chain reaction.
| Problem | Root Cause | Solution |
|---|---|---|
| Grainy Texture | Sugar crystals formed early | Stir thoroughly before the boil; do not stir during the boil. |
| Fudge Won't Set | Under boiled syrup | Ensure a full 2:30 rolling boil next time; can be used as a cake glaze. |
| Dry and Crumbly | Over boiled or too much sugar | Reduce boil time by 15 seconds or check your sugar measurements. |
Common Mistakes Checklist
- ✓ Always sift your powdered sugar to avoid stubborn white lumps.
- ✓ Never double the recipe in the same pan; the heat distribution changes and it rarely sets.
- ✓ Don't use "natural" peanut butter with oil on top; the consistency is too unpredictable.
- ✓ Let the fudge sit at room temperature for 10 minutes before cutting for cleaner edges.
- ✓ Use a sharp, thin knife dipped in hot water (and wiped dry) for professional squares.
Creative Flavor Twists to Make This Recipe Your Own
Once you've mastered the classic, you can start playing with the "Polished" and "Restaurant" levels of presentation.
The Chocolate Swirl Method
If you want to create a marbled effect, melt 100g of semi sweet chocolate chips and drizzle them over the fudge while it’s still warm in the pan. Use a toothpick to swirl the chocolate into the peanut butter base. It’s a game changer for people who think Peanut Butter Fudge needs a companion.
The "Crunch" Variation
For those who love texture, you can swap half of the creamy peanut butter for crunchy, or simply stir in 50g of chopped toasted peanuts during the "Peanut Butter Integration" step. It adds a wonderful shatter to the bite. For another great texture experience, my Cloud Soft Cinnamon Rolls provide that pillowy contrast that makes a dessert table feel complete.
| Plating Level | Visual Tweaks | Tools Needed |
|---|---|---|
| Simple | Clean 3cm squares | Sharp knife |
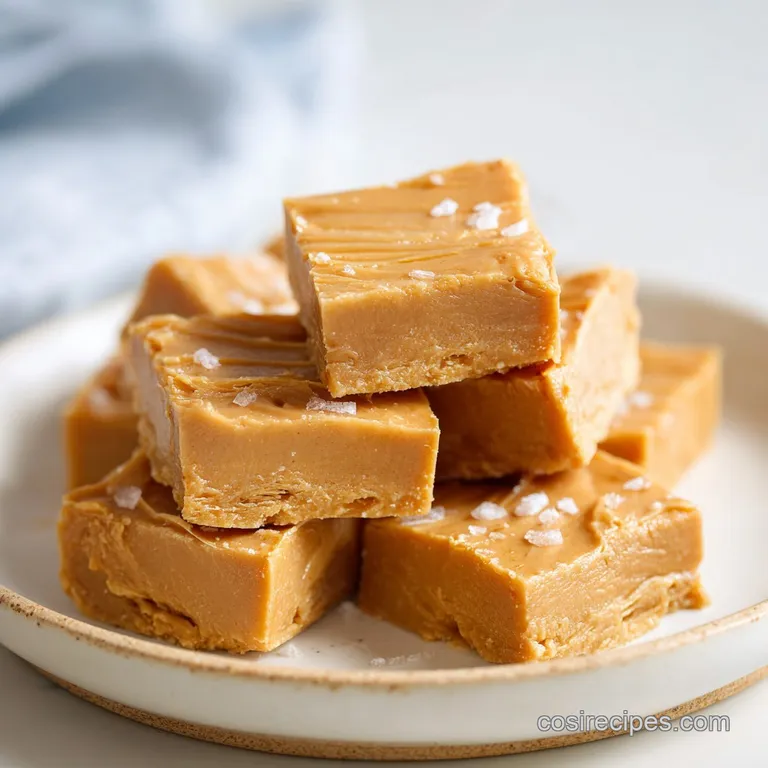
| Polished | Chocolate drizzle + sea salt | Piping bag or fork |
| Restaurant | Crushed honeycomb + gold leaf | Tweezers & mallet |
Storing and Freezing Your Treats to Keep Them Fresh
Because of the high sugar and fat content, this fudge keeps remarkably well, making it the perfect "make-ahead" gift.
Storage: Keep your fudge in an airtight container. At room temperature, it will stay fresh for about 1 week. In the refrigerator, it stays perfect for up to 3 weeks. Always place a piece of parchment or wax paper between layers to prevent them from sticking together.
Freezing: You can freeze this fudge for up to 3 months! Wrap the entire block (or individual squares) tightly in plastic wrap, then place in a heavy duty freezer bag. To thaw, move it to the fridge overnight. Don't thaw it on the counter, or condensation might form and make the surface sticky.
Zero Waste Tip: If you end up with "fudge crumbs" or edges that aren't perfectly square, don't toss them! I love to crumble the scraps over vanilla bean ice cream or fold them into brownie batter before baking.
You can even melt the scraps down with a splash of milk to make a decadent peanut butter sauce.
Elegant Ways to Serve Your Fudge with Morning Coffee
While many people think of fudge as a late night snack, it actually makes a beautiful addition to a brunch spread.
Beverage Pairings: The saltiness of the peanut butter pairs beautifully with a dark roast coffee or a robust Earl Grey tea. If you're feeling adventurous, try serving a square alongside a glass of cold milk it’s the ultimate childhood nostalgia trip.
The Ultimate Dessert Board: Arrange your Peanut Butter Fudge squares on a wooden board with some dried apricots, dark chocolate shards, and salty pretzels. The mix of sweet, salty, and tart makes for a sophisticated presentation that looks like you spent hours on it.
Debunking Fudge Myths
One of the biggest misconceptions is that you must have a candy thermometer to make fudge. While they are helpful, many traditional recipes (like this one) rely on "timed boils" which are just as effective if you have a consistent heat source.
Another myth is that fudge and caramel are the same thing; while they share ingredients, fudge is actually an "interfered" sugar crystal structure, whereas caramel is a non crystalline candy. Finally, searing the bottom of the pan doesn't "flavor" the fudge it just ruins the batch.
If you smell burning, stop immediately, as that bitter taste will permeate the entire tray.
This recipe is all about the magic of simple ingredients coming together. It’s accessible, elegant, and honestly, a little bit of master level chemistry happening right on your stove. I hope you love it as much as I do! Let's get cooking!

Recipe FAQs
What are common peanut butter fudge mistakes?
Overlooking the sugar consistency and the type of peanut butter are the biggest errors. Failing to sift your confectioners' sugar often leads to lumps, and using natural, oil-separated peanut butter creates a loose, greasy texture that fails to set properly.
What are the common mistakes when making fudge?
Stirring during the boiling stage and doubling the batch size in one pot are the primary pitfalls. You must allow the mixture to reach a rolling boil for exactly 2 minutes and 30 seconds without agitation, and keep batch sizes consistent to ensure the heat distribution remains uniform for a perfect
set.
What is the secret to making good fudge?
The secret is precision during the boiling phase and proper cooling. If you enjoyed mastering the sensory doneness cues and precise timing here, you can apply similar logic to our No Bake Chocolate Eclair Cake to ensure your custard sets perfectly every time.
What is the best peanut butter to use for peanut butter fudge?
Use standard, shelf stable creamy peanut butter. Avoid natural varieties with oil separation, as the added stabilizers in regular brands are necessary to hold the fudge structure together as it cools and sets.
How to get clean, professional looking squares?
Wait for the fudge to sit at room temperature for 10 minutes before cutting, then use a sharp, thin knife. Dip your blade into hot water and wipe it completely dry between each cut to ensure the edges remain smooth and clean.
Is it true that I should stir the fudge constantly while it boils?
No, this is a common misconception. You must not stir the mixture once it reaches a rolling boil, as this disrupts the sugar crystallization process required for a stable, creamy texture.
How to store the finished fudge?
Place the squares in an airtight container with parchment paper between the layers. It will remain fresh at room temperature for one week, or you can refrigerate it for up to three weeks to maintain the best consistency.
Easy Peanut Butter Fudge

Ingredients:
Instructions:
Nutrition Facts:
| Calories | 128 kcal |
|---|---|
| Protein | 1.6 g |
| Fat | 6.1 g |
| Carbs | 17.7 g |
| Fiber | 0.4 g |
| Sugar | 17.0 g |
| Sodium | 49 mg |
