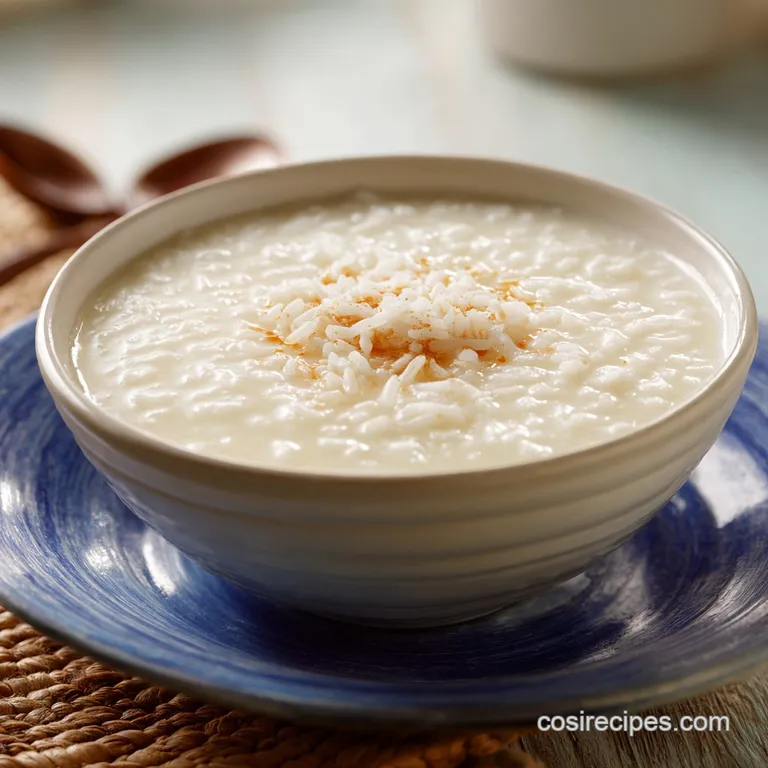
Homemade Cream of Rice: Velvety and Silky
- Time:5 minutes prep + 7 minutes cooking/resting = 12 minutes total
- Flavor/Texture Hook: Silky, mild, and velvety with a toasted grain finish
- Perfect for: High energy breakfast, post workout fuel, or gentle comfort food
- Master the Ultimate Cream of Rice for Cozy Mornings
- The Mechanics of Starch and Hydration Levels
- Component Analysis and Ingredient Deep Dive
- Selecting the Best Ingredients for Maximum Creaminess
- Essential Kitchen Tools for a Smooth Texture
- Step-by-Step Guide from Prep to Polished Plate
- Solving Common Texture Issues and Kitchen Blunders
- Creative Flavor Variations to Keep Breakfast Exciting
- Best Practices for Storage and Quick Reheating
- Elegant Serving Suggestions for a Beautiful Bowl
- Debunking Porridge Misconceptions
- Recipe FAQs
- 📝 Recipe Card
Master the Ultimate Cream of Rice for Cozy Mornings
The scent of warming milk and toasted grain is something that takes me straight back to my grandmother’s kitchen on rainy Tuesday mornings. Growing up, rice porridge wasn't just a meal; it was a cultural embrace.
Whether it’s called Congee in China, Arroz con Leche in Spain, or Kheer in India, almost every culture has a version of "soft rice" that signifies home and healing. This specific version, a silky, homemade Cream of Rice, is the western answer to that universal comfort.
It’s lighter than oatmeal but far more luxurious than a standard bowl of cereal.
We aren't just boiling grains here; we are performing a little bit of kitchen magic. I remember the first time I tried making this from scratch I actually accidentally turned the rice into a fine powder, and the result was a gummy paste that stuck to the roof of my mouth. It was a disaster!
But that's how I learned the secret of the "shatter." You want those grains to look like coarse sand, not flour. That texture is what allows the liquid to penetrate the grain quickly while leaving enough structure to feel satisfying on the tongue.
Today, this dish has found a massive following in the fitness community, but honestly, you don't need to be a bodybuilder to appreciate the simplicity of it. It is the perfect blank canvas for whatever mood you’re in.
Some mornings I want it dripping with maple syrup and toasted pecans; other days, a simple pat of salted butter is all it takes to make the world feel right again. Let’s get into why this method actually works and how you can avoid the dreaded "clump crisis" that plagues so many beginner cooks.
The Mechanics of Starch and Hydration Levels
Understanding the "why" behind this porridge changes how you approach the stove. When we pulse the rice, we are increasing the surface area of the grain exponentially. A whole grain of rice takes 20 minutes to soften because the water has to work its way to the center.
By shattering it, we’ve already done the hard work for the water.
- Surface Area Activation: Breaking the rice into smaller granules allows the starch molecules to release into the milk almost instantly, creating a natural thickener.
- Starch Gelatinization: As the mixture hits 150°F (65°C), the starch granules swell and burst, trapping the liquid in a silky web that creates that "velvety" mouthfeel.
- Residual Heat Finishing: Letting the pot sit covered for 2 minutes after cooking allows the largest "sand like" particles to finish hydrating without scorching the bottom of the pan.
Cook Method Comparison
| Method | Time | Texture | Best For |
|---|---|---|---|
| Stovetop | 12 minutes | Silky and ultra smooth | Maximum creaminess and control |
| Microwave | 8 minutes | Slightly chewier | Quick office breakfasts |
| Oven Bake | 45 minutes | Custard like/Firm | Large batches or "set and forget" |
If you find yourself craving a different kind of creamy comfort later in the day, you might also enjoy my slow cooker rice pudding, which uses whole grains for a more traditional, dense dessert texture.
Component Analysis and Ingredient Deep Dive
The beauty of this recipe lies in its pantry staple simplicity. However, because there are so few components, the quality of each one really stands out. I always recommend using a heavy bottomed saucepan for this; thin pans have "hot spots" that will cause the milk to catch and burn before the rice is even tender.
| Ingredient | Science Role | Pro Secret |
|---|---|---|
| White Rice | Structural Base | Use Long Grain for a fluffier finish; Short Grain for extra stickiness |
| Whole Milk | Fat Emulsifier | The fat prevents the rice starches from becoming too gummy or gluey |
| Sea Salt | Flavor Enhancer | Salt suppresses bitterness and makes the sweetness of the milk "pop" |
| Maple Syrup | Liquid Sweetener | Adds moisture and a complex caramel note that granulated sugar lacks |
Chef's Tip: Freeze your dry rice for 20 minutes before pulsing in the blender. Cold rice is more brittle and "shatters" into even granules rather than smushing into a powder.
Selecting the Best Ingredients for Maximum Creaminess
- 1 cup (185g) uncooked white rice: Jasmine rice adds a beautiful floral aroma, but plain long grain white rice is the classic standard. Why this? It has the right starch to fiber ratio for a smooth, digestible porridge.
- 1/2 tsp fine sea salt: Don't skip this. Why this? It balances the creamy fats and wakes up the vanilla notes.
- 2 cups whole milk: You can use 2% in a pinch, but whole milk provides the best velvety finish. Why this? The fat content coats the starch, creating a luxurious mouthfeel.
- 2 cups water: Using a 50/50 mix of milk and water prevents the porridge from becoming too "heavy" or cloying.
- 1 tbsp unsalted butter: Added at the end for a glossy sheen. Why this? It provides a "fat finish" that lingers on the palate.
- 1 tsp pure vanilla extract: Always add this off the heat to preserve the delicate aromatics.
- 1 tbsp maple syrup: A gentle, natural sweetener that incorporates better than crystals.
| Original Ingredient | Substitute | Why It Works |
|---|---|---|
| Whole Milk | Coconut Milk (Canned) | Similar fat content. Note: Adds a distinct tropical flavor and richer body |
| Maple Syrup | Honey | Similar viscosity. Note: Honey has a stronger, floral profile; use slightly less |
| White Rice | Brown Rice | High fiber content. Note: Requires a longer "rest" time and has a nuttier, grittier bite |
Essential Kitchen Tools for a Smooth Texture
To get that restaurant quality finish, your equipment matters just as much as your ingredients. You’ll need a high speed blender or a very clean spice grinder to handle the rice.
If you use a food processor, just be aware it might take a bit longer to get the "sand" texture, and you’ll need to scrape the sides down more often.
A silicone whisk is your best friend here. Metal whisks can sometimes scrape the bottom of the pan too aggressively, and if you’re using non stick, they’ll ruin the coating.
The silicone provides enough "drag" to keep the rice particles suspended in the liquid so they don't sink to the bottom and form a solid block of starch.
step-by-step Guide from Prep to Polished Plate
- Shatter the rice. Place the 1 cup of dry, uncooked white rice into your blender. Pulse in short 3 second bursts until the rice resembles coarse sand or fine cornmeal. Note: This prevents the mixture from turning into a thick, gluey paste.
- Combine the base. In a medium heavy bottomed saucepan, add the ground rice, 1/2 tsp sea salt, 2 cups milk, and 2 cups water.
- The cold start whisk. Before turning on any heat, use a silicone whisk to stir the mixture vigorously. Note: This ensures the rice grains are suspended in the liquid and prevents immediate clumping.
- Apply heat. Turn the stove to medium high. You must whisk constantly during this stage as the temperature rises.
- Activate the starch. Once the liquid begins to bubble and you feel the whisk meeting resistance, immediately reduce the heat to low.
- Simmer and thicken. Cook for 2–3 minutes, continuing to whisk, until the texture is thick and glossy.
- Infuse the flavor. Remove the pan from the heat entirely. Stir in the 1 tbsp butter, 1 tsp vanilla, and 1 tbsp maple syrup.
- The precision rest. Cover the pot with a tight fitting lid and let it rest for 2 minutes. Note: Residual heat tenderizes any lingering large granules for a perfectly consistent bite.
Solving Common Texture Issues and Kitchen Blunders
The most common hurdle with homemade Cream of Rice is the "clump." This happens when the starch on the outside of the rice granules hydrates and sticks together before the rest of the liquid can get in. It’s like a defensive wall of goo.
Why Your Porridge Is Lumpy
If you see lumps forming, it usually means the heat was too high too fast, or the whisking wasn't frequent enough. Once a clump forms, it’s hard to break it down just by stirring.
You can actually fix this by carefully pouring the mixture back into the blender for a quick 5 second whirl, then returning it to the pan to finish.
| Problem | Root Cause | Solution |
|---|---|---|
| Gritty Texture | Granules too large | Pulse rice longer or increase the "rest" time under the lid |
| Gluey/Sticky | Pulverized into powder | Pulse in shorter bursts next time; add a splash of milk to loosen now |
| Scorched Bottom | Heat too high/No stirring | Use a heavy bottomed pan and whisk constantly until it thickens |
Common Mistakes Checklist
- ✓ Never add ground rice to boiling water; always start with cold or room temp liquid to prevent instant clumping.
- ✓ Stop pulsing the blender the moment the rice looks like polenta; "flour" texture leads to a gummy result.
- ✓ Whisk in a figure eight motion to ensure you are reaching the center and the edges of the saucepan.
- ✓ Use whole milk if possible; the fat acts as a lubricant between the starch molecules for a smoother finish.
- ✓ Don't skip the 2 minute rest; it's the difference between "cooked" and "perfectly tender."
Creative Flavor Variations to Keep Breakfast Exciting
Once you have the base down, you can treat this bowl like a canvas. If you're looking for a treat that feels a bit more like a confection, you could even fold in a spoonful of my creamy peanut butter fudge while the porridge is still hot for a decadent, nutty swirl.
For a Savory Twist
Believe it or not, this dish is incredible as a savory base. Omit the vanilla and maple syrup. Instead, stir in a handful of sharp cheddar cheese and a pinch of black pepper at the end. Top it with a jammy soft boiled egg and some sliced scallions.
It’s a 12 minute version of savory grits that feels much more "grown up."
The Tropical Coconut Swap
Replace the 2 cups of water with a can of full fat coconut milk. The result is an ultra rich, almost dessert like porridge. Top it with toasted coconut flakes and fresh mango slices. This variation is particularly good if you find yourself needing a dairy-free option but don't want to lose that creamy intensity.
Best Practices for Storage and Quick Reheating
Cream of Rice is notorious for firming up as it cools. The starches "set," and by the next morning, your bowl might look like a block of gelatin. Don't worry it’s completely reversible.
- Fridge: Store in an airtight container for up to 4 days.
- Freezer: I don't recommend freezing the cooked porridge as the texture becomes "weepy" upon thawing. However, you can freeze the dry, ground rice indefinitely.
- Reheating: To bring it back to life, add 2 tablespoons of milk or water per cup of porridge. Microwave in 30 second increments, stirring vigorously between each, until it regains its velvety "shatter" texture.
Zero Waste Tip: If you have leftover porridge that has become too firm to enjoy as a bowl, don't toss it! Whisk in an egg and a tablespoon of flour, then fry spoonfuls in a buttered skillet like little rice cakes. They get crispy on the outside and stay custardy in the middle.
Elegant Serving Suggestions for a Beautiful Bowl
Presentation can turn a simple bowl of "mush" into a masterclass breakfast. I love to use wide, shallow bowls which allow you to spread the toppings out so you get a bit of everything in every spoonful.
Start by swirling a tiny bit of extra maple syrup over the surface it will pool in the little crevices and look beautiful. Add a crunch factor with sliced almonds, pumpkin seeds, or even a sprinkle of granola.
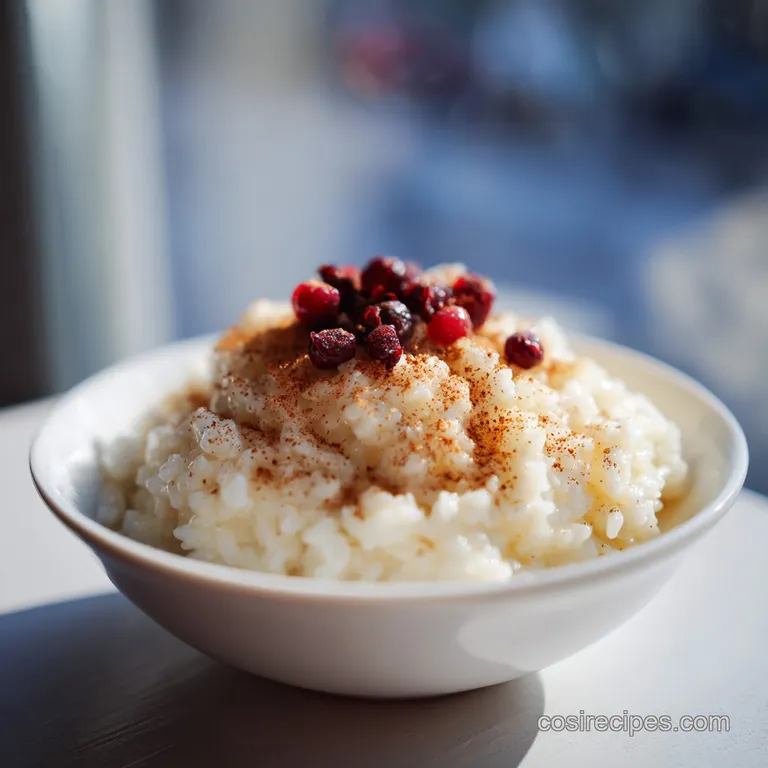
For a pop of color and acidity, fresh berries or a dollop of apricot preserves work wonders to cut through the richness of the milk and butter. If you're serving this for guests, a light dusting of cinnamon or freshly grated nutmeg right before it hits the table adds a professional aromatic touch that makes the whole house smell like a bakery.
Debunking Porridge Misconceptions
There is a common myth that you need to buy "Instant" Cream of Rice for it to be fast. The truth is, the "instant" versions are just pre steamed and dried rice that has been pulverized. By grinding your own rice at home, you get a much fresher flavor and a more controlled texture for a fraction of the price.
Another misconception is that rice porridge is "empty carbs." While it is a carbohydrate heavy meal, using whole milk and a pat of butter adds essential fats that slow down digestion, providing a steady release of energy rather than a quick spike and crash.
If you want even more staying power, stirring in a scoop of your favorite protein powder (add a splash of extra milk too!) makes this a complete, balanced powerhouse of a meal.

Recipe FAQs
What actually is Cream of Rice?
It is a hot porridge made from ground white rice. By pulverizing the grains into a coarse, sand like texture and cooking them in liquid, you create a smooth, creamy breakfast bowl that is naturally gluten-free and easy to digest.
Why do bodybuilders eat so much Cream of Rice?
It provides a reliable, fast digesting source of carbohydrates. Because it is essentially refined rice, it provides quick energy for training without the gastrointestinal bulk often associated with high fiber whole grains.
Is Cream of Rice healthier than oatmeal?
Neither is inherently "healthier," as they serve different nutritional goals. Cream of Rice is a simpler carbohydrate that is easier on the stomach, whereas oatmeal contains more fiber and micronutrients, similar to how the complex flour base in our Fluffy Japanese Pancakes requires different handling for structure.
Is Cream of Rice just blended up rice?
Yes, that is the primary component. By pulsing your white rice into a coarse meal and cooking it with milk, water, and salt, you create the exact same creamy consistency found in commercial versions.
How to prevent the rice from turning into a gummy paste?
Pulse the blender in short, 3-second bursts. Stop immediately once the grains resemble coarse sand or fine cornmeal; over processing turns the rice into a fine powder, which creates a glue like texture when boiled.
How to avoid clumps when cooking?
Whisk the dry ground rice into the cold liquids before turning on the heat. Vigorously stir the mixture with a silicone whisk to ensure all grains are suspended in the milk and water, preventing the starch from binding into lumps as it warms up.
How to ensure the texture is perfectly tender?
Cover the pot and let it rest for 2 minutes after cooking. This essential waiting period allows the residual heat to fully penetrate the larger rice granules, resulting in a consistent, glossy porridge rather than a grainy, undercooked mess.
Homemade Cream Of Rice

Ingredients:
Instructions:
Nutrition Facts:
| Calories | 285 kcal |
|---|---|
| Protein | 7.2 g |
| Fat | 7.2 g |
| Carbs | 46.1 g |
| Fiber | 0.6 g |
| Sugar | 9.4 g |
| Sodium | 290 mg |
